Get your licence to solder!
At some point, all the tinkering with an appliance doesn't help any more and a repair is due: it has to be soldered. As an employee of a Repair Café for many years, I know that this is not rocket science. But when the time comes - which soldering iron do I actually need?
The range is huge. There are 31 soldering irons and 24 different soldering stations to buy at Galaxus. What is important when choosing a soldering iron? Wouldn't a soldering station be better? Do I need desoldering braid or a desoldering pump? And what accessories do I actually need?
As always, it all depends on the intended use. Firstly, the material you are dealing with is crucial:
- For thin cables (<1mm diameter) and electronic components (e.g. resistors, kits), a soldering iron with 30 watts is sufficient.
- For thick cables such as speaker wires, the soldering iron must transport more heat, 60 to 80 watts should be sufficient.
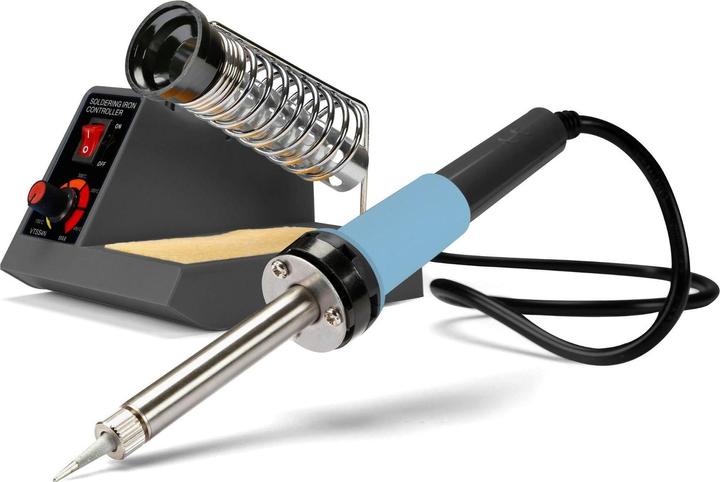
Soldering stations are a little more expensive but more flexible. Thanks to the temperature control, you can adapt better to the situation and also have more options. At a low temperature, for example, you can melt, cut or join plastic with a second - old - soldering tip.

My recommendation is to use a soldering station. Get a second soldering tip that is wide and flat. It's great for working with plastic. It is often very practical to mould a plastic part with heat instead of drilling, grinding or sawing. This option is particularly interesting if the 3D printer has not worked so well again.
Which accessories?
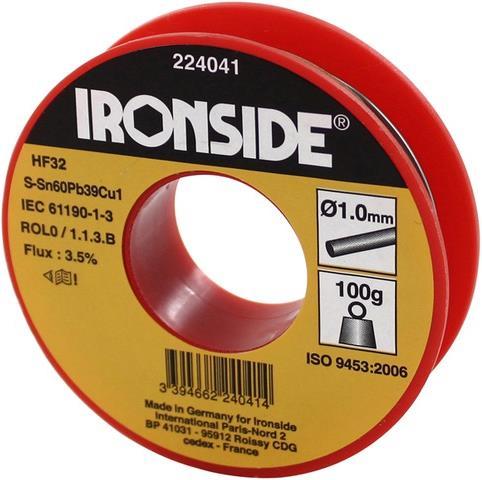
Now a few words about solder. The industry is no longer allowed to use lead, but it is still permitted for private and hobby applications. I recommend using solder containing lead. It is easier to work with and more elastic. This results in fewer "cold" or broken solder joints. Later, with a little practice, lead-free soldering is also no problem.
For your own safety, please heed the following advice: Always put the soldering iron in the storage stand when not in use. And I really mean always. Don't put the hot soldering iron anywhere "just in case"! Always solder in a very well ventilated room.
Other than that, you don't need many accessories, here are the most important helpers:
If there is too much solder on the solder joint, this can be sucked up by the desoldering braid.

Donau Desoldering strands
desoldering litz
A desoldering pump is required for repairs or to replace components. The holes are sucked free again by the suction and the new component can be inserted cleanly.

Donau Metal desoldering suction pump
Suction pump
Literally a helping hand is very useful. Two clamps on a rail are enough to get you started. Whether you want to work with or without a magnifying glass depends on the size of the components and your eyes.

Donau Helping Hand With Magnifying Glass
Support/Hand
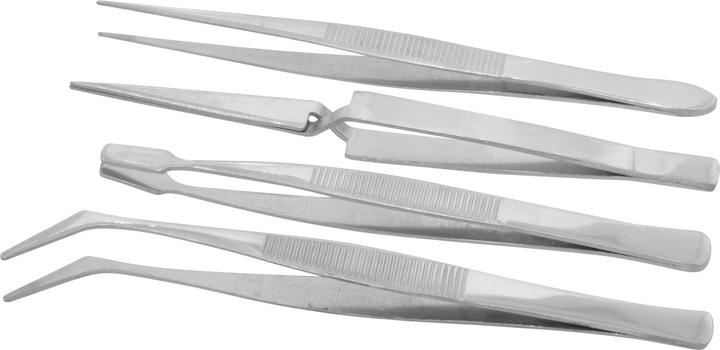
And now the last tool, the tweezers. They are necessary to position small parts without stress and to hold them in place when soldering.
Example from practice
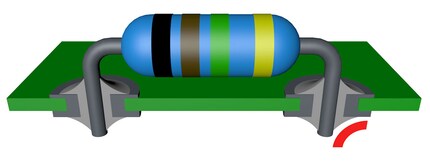
Now an example: We want to replace the 12 ohm resistor in the green PCB with a 15 ohm resistor. For better visibility, the circuit board is cut open so that you can see the ideal shape better.
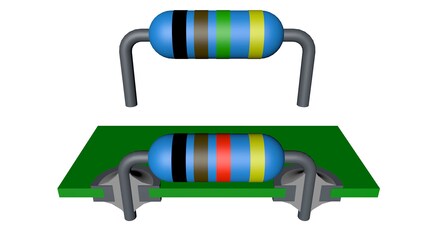
To do this, we heat the soldering iron - we set a soldering station to 310°C - and wait until it is hot. Test: The solder melts at the tip and can be wiped off again.
Now we clamp the piston of the desoldering pump and place it on the soldering point. Then heat the soldering point from the other side with the soldering iron as soon as the solder is liquid.
Then press the button on the desoldering pump. The spring pushes the piston outwards and sucks the liquid solder into the pump. The extracted tin is pressed outwards during the next clamping operation, so always clamp the pump over a waste container.
We repeat the process with the second soldering point. The resistor should now be able to be pulled out. Otherwise, we help a little with the soldering iron while pulling.
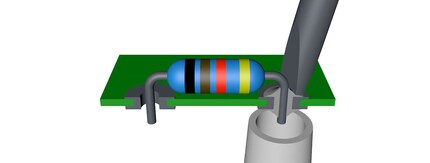
Now we insert the new resistor and secure it so that it does not slip. You can do this with a clamp, heat-resistant adhesive tape - I use painter's masking tape - or a mounting frame. It is important that the component sits firmly. The connecting wires of the resistor should be shortened before soldering. Cutting them after soldering can damage the solder joint.
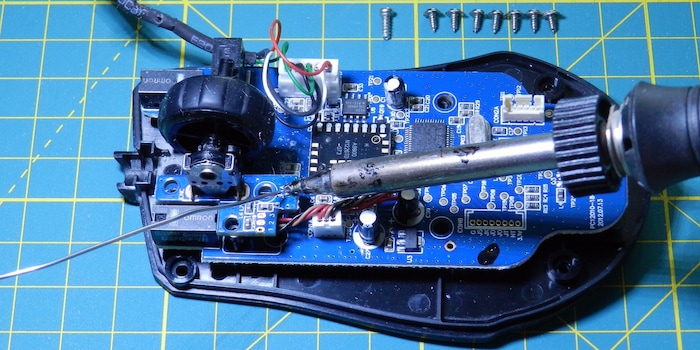
Now it has to be done quickly: We hold the soldering iron to the end of the wire and the soldering eye at the same time to heat both. Now carefully hold the solder to it so that only a little of it melts.
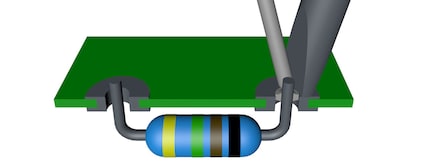
After one or two seconds, the solder joint is hot enough and we add the remaining amount of solder, just enough to fill the hole and cover the solder joint. The job is perfect when there is a small arc between the wire and the soldering eye.
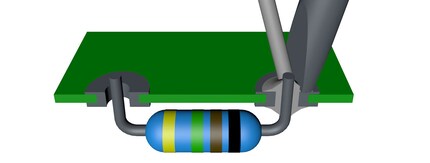
If there is too much solder on the solder joint, we can remove it again with the desoldering pump. Or we can hold the desoldering wire on it and heat the soldering wire and solder joint. If in doubt, it is better to solder briefly several times. Soldering for too long will damage both the board and the component. (Some manufacturers specify the soldering time, e.g. 350°C for a maximum of 5 seconds.)
Then we also solder the second solder joint.
A good solder joint can be recognised by the flat curve of the small amount of tin. A lot doesn't help much! Tin containing lead shines and reflects almost like a mirror. Hence the recommendation to start with leaded solder: if it doesn't shine, the soldering was too hot or too cold or the components were moved during the cooling process.
The last step before switching off is always to apply some solder to the tip: completely covered, it is protected from oxidation and solders for a long time as on the first day. However, if it has turned black and no longer accepts the tin, it must be replaced.
Basic considerations
A final note: You should only attempt a repair if the appliance's warranty has already expired. If it goes wrong, you do so at your own risk. And never underestimate the risk of burns from a 310°C soldering iron and how deeply it can melt into the tabletop or floor.
With the necessary caution, you will have a lot of fun with this craft. Good luck!
Note: The products shown are not recommendations from Marc, but are examples of items from our range.
More about electronics and robotics
I am a digital aboriginal of the generation Commodore 64, online since dial and acoustic coupler. Besides video games, I like to bring things from cyberspace into makerspace with the 3D printer. Technology is simply fascinating.
Interesting facts about products, behind-the-scenes looks at manufacturers and deep-dives on interesting people.
Show all